Editor & Tool Configuration
OpenAI Codex
Run OpenAI Codex via AnyRouter: configure base_url in config.toml and your API key in auth.json or with cc-switch, then use it in the terminal or desktop app.
Use Codex via the AnyRouter API
Installation
Download from the official site (macOS)
Install via the command line
npm install -g @openai/codexEnvironment configuration
Configure via config files
- Edit the
~/.codex/config.tomlconfig file and add the following:
profile = "AnyRouter"

[model_providers.AnyRouter]
name = "AnyRouter"
base_url = "https://anyrouter.win/v1"
personality = "pragmatic"
wire_api = "responses"

[profiles.AnyRouter]
model = "gpt-5.2"
model_provider = "AnyRouter"
model_reasoning_effort = "high"- Edit the
~/.codex/auth.jsonconfig file as follows:
{
  "OPENAI_API_KEY": "AnyRouter_API_KEY"
}
Configure via cc-switch
- Run CC-Switch and add a provider.
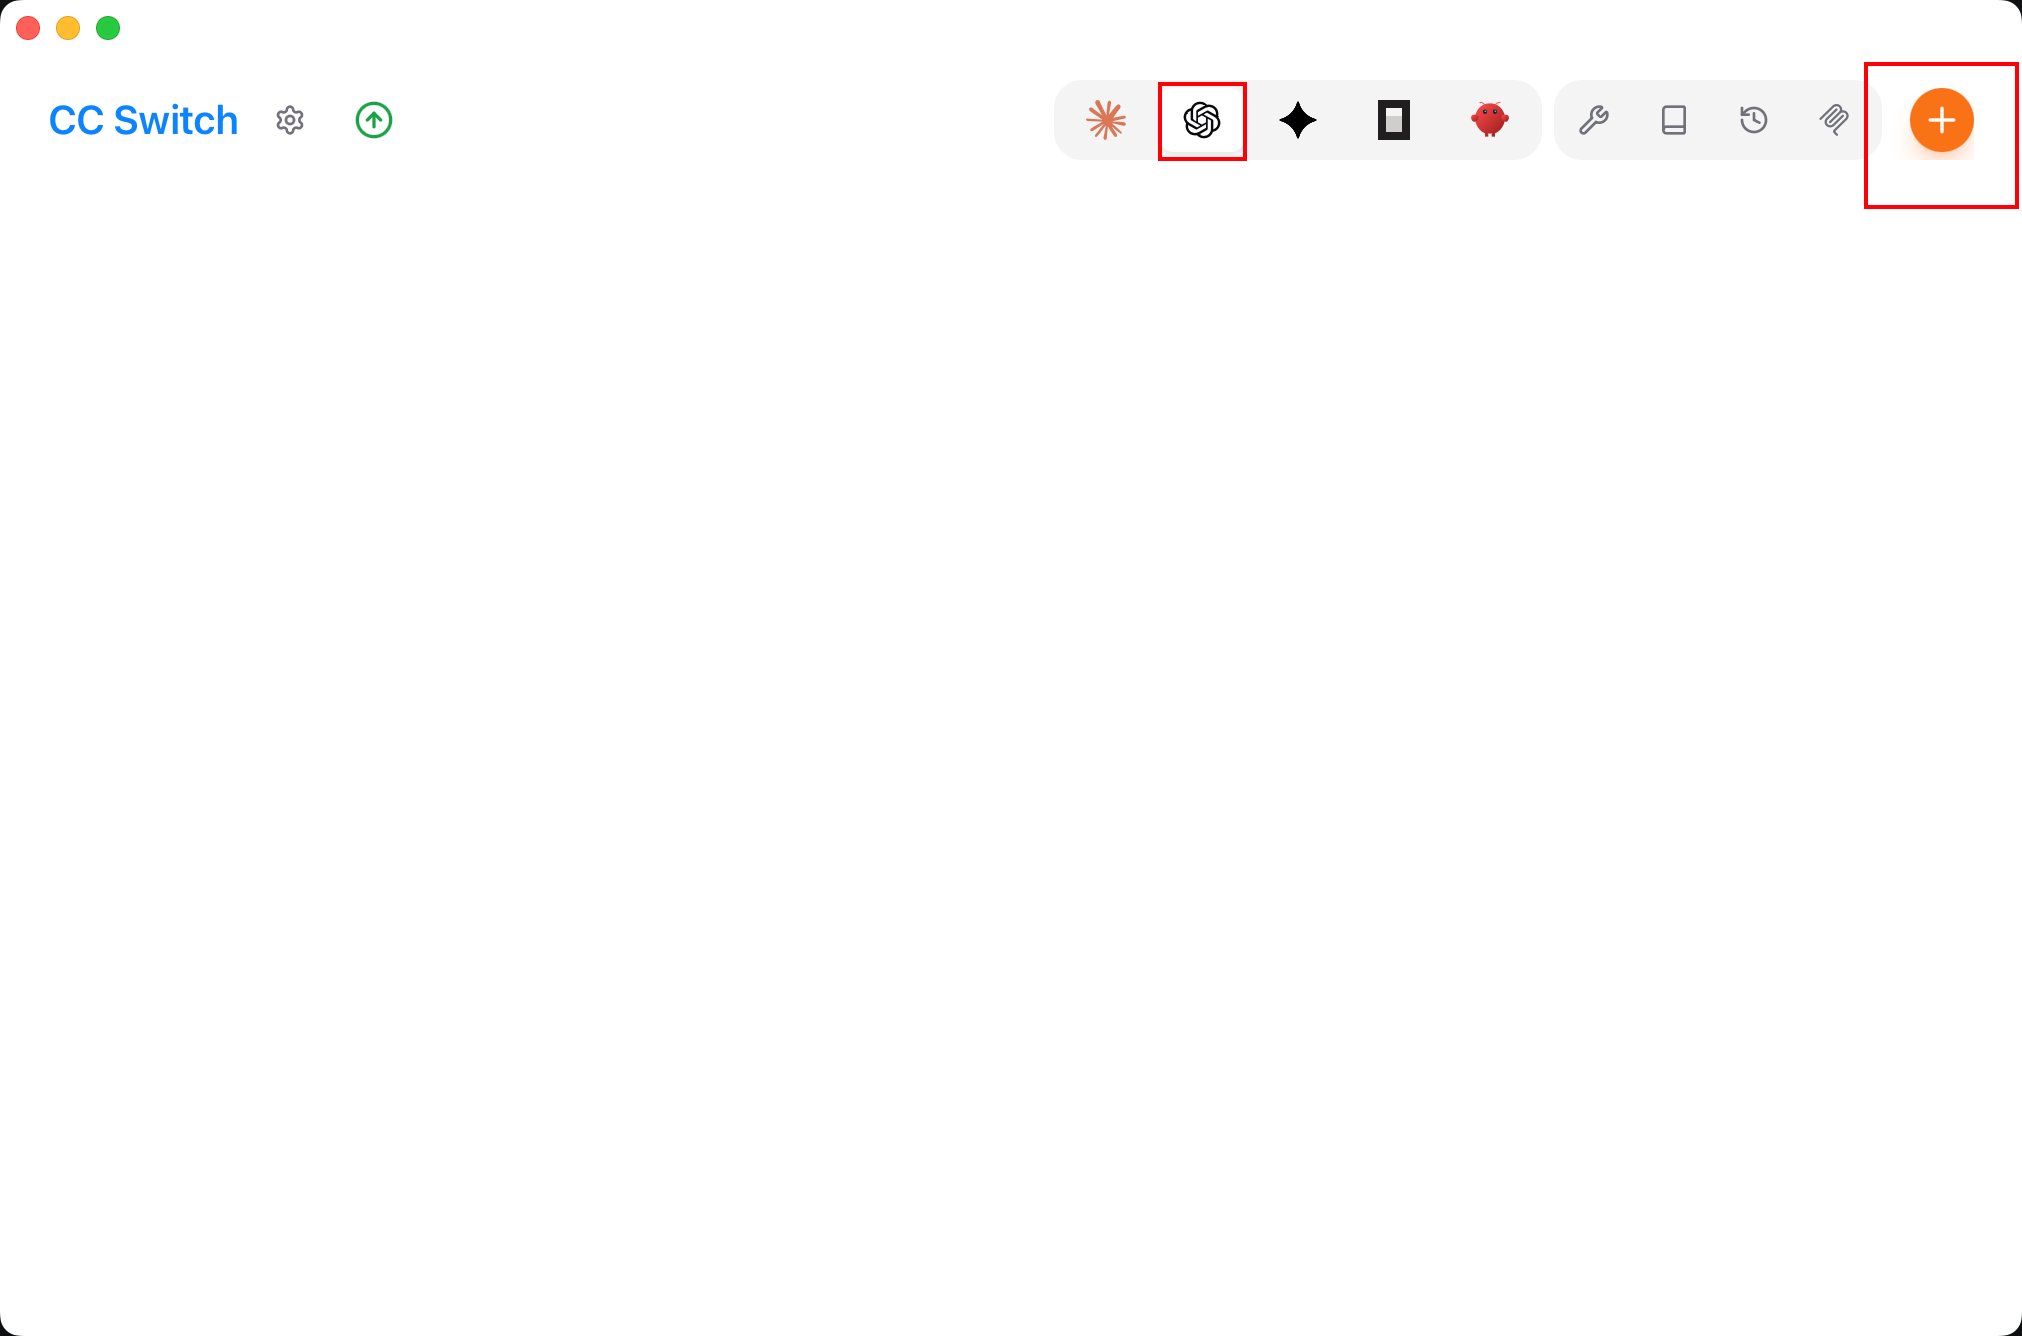
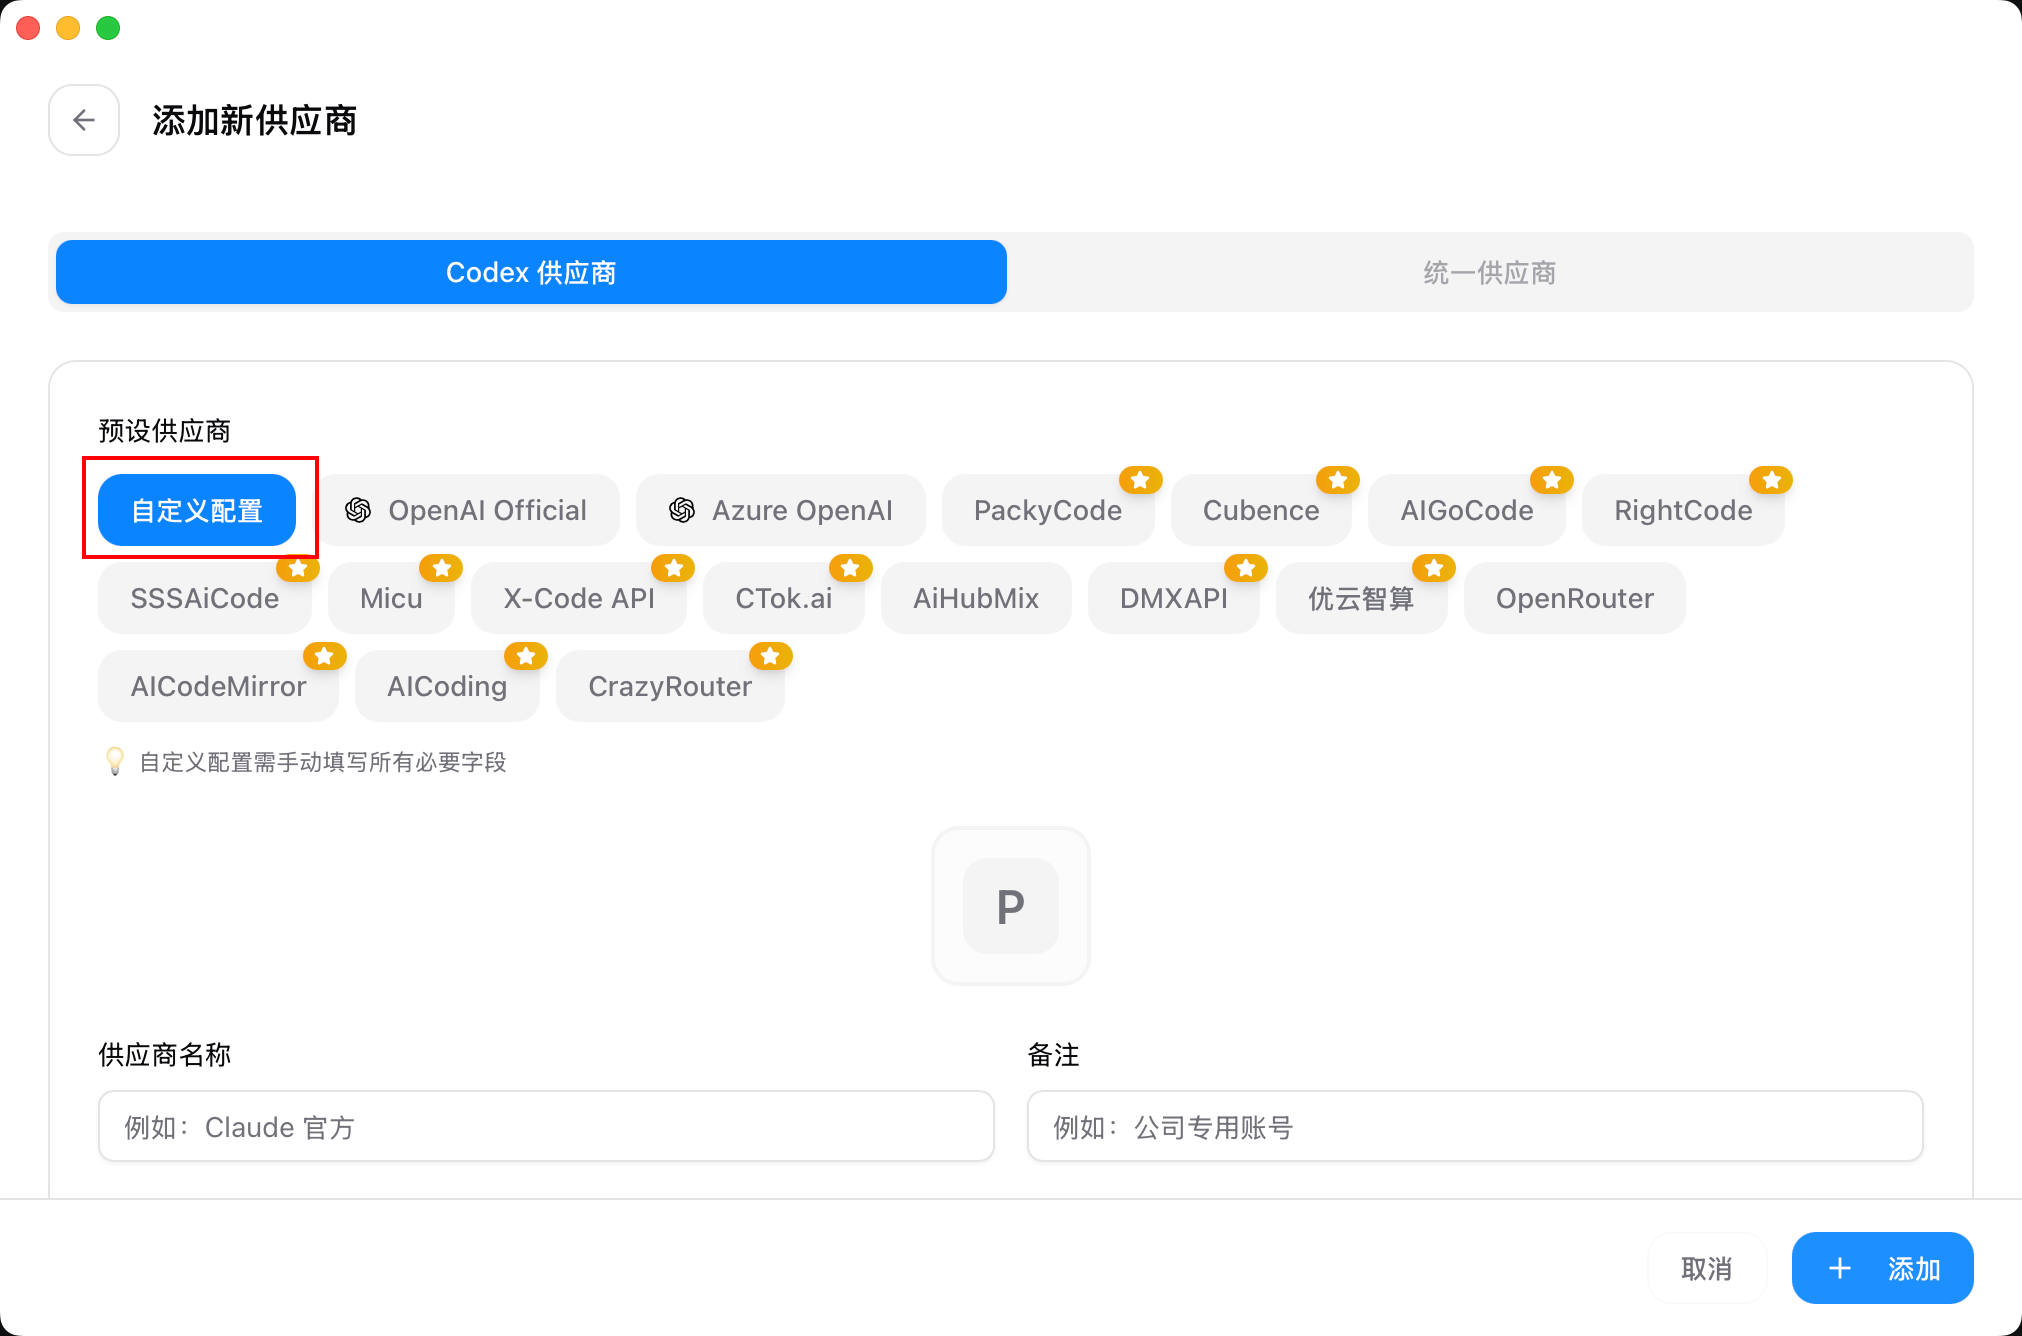
- Select "AnyRouter" from the preset list.
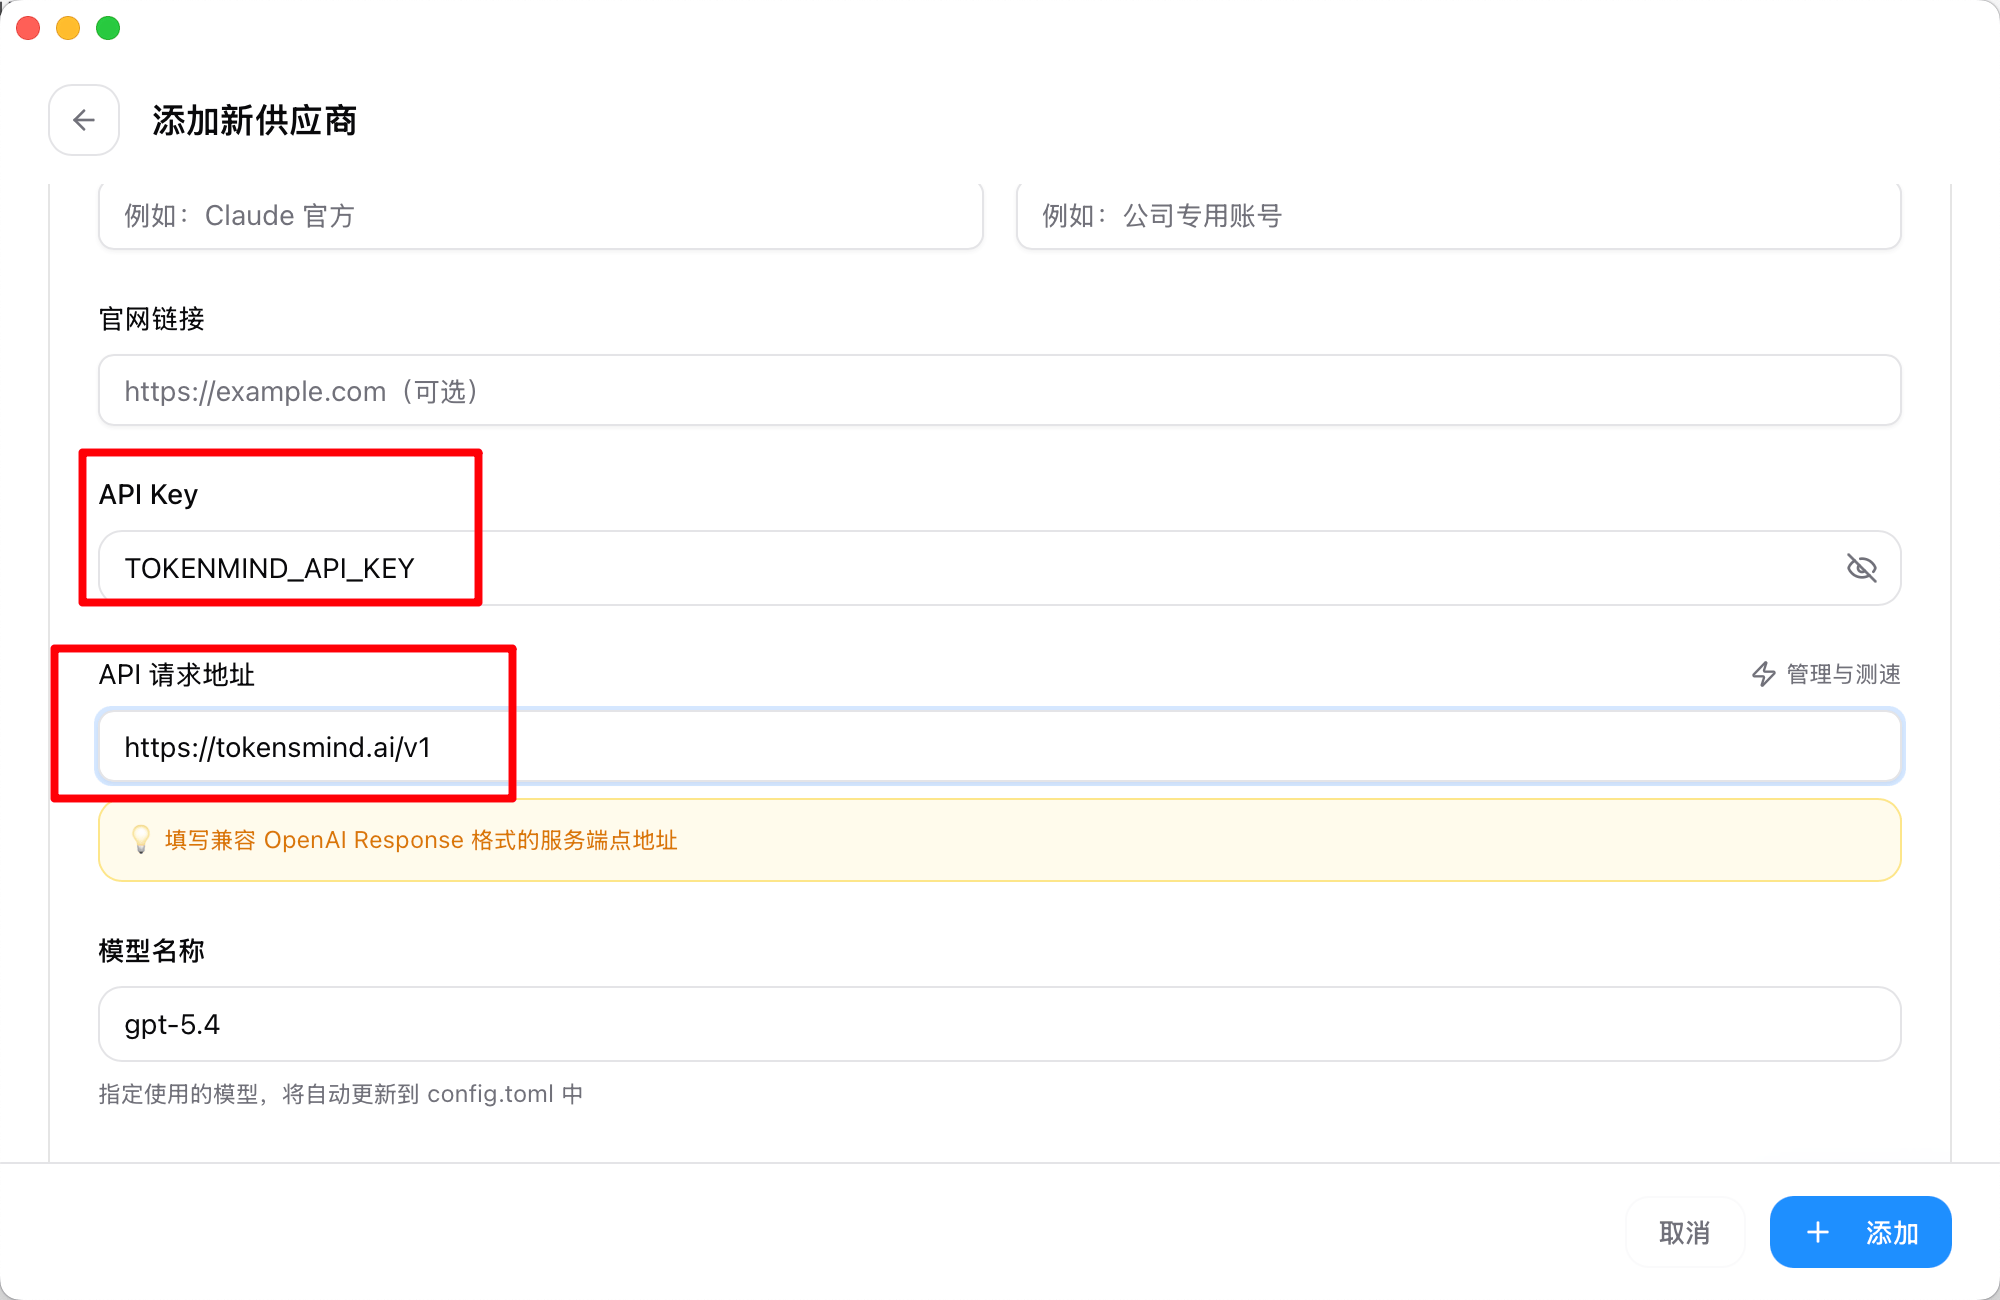
- Enter your API key in the "API Key" field and click "Add" to save the settings.
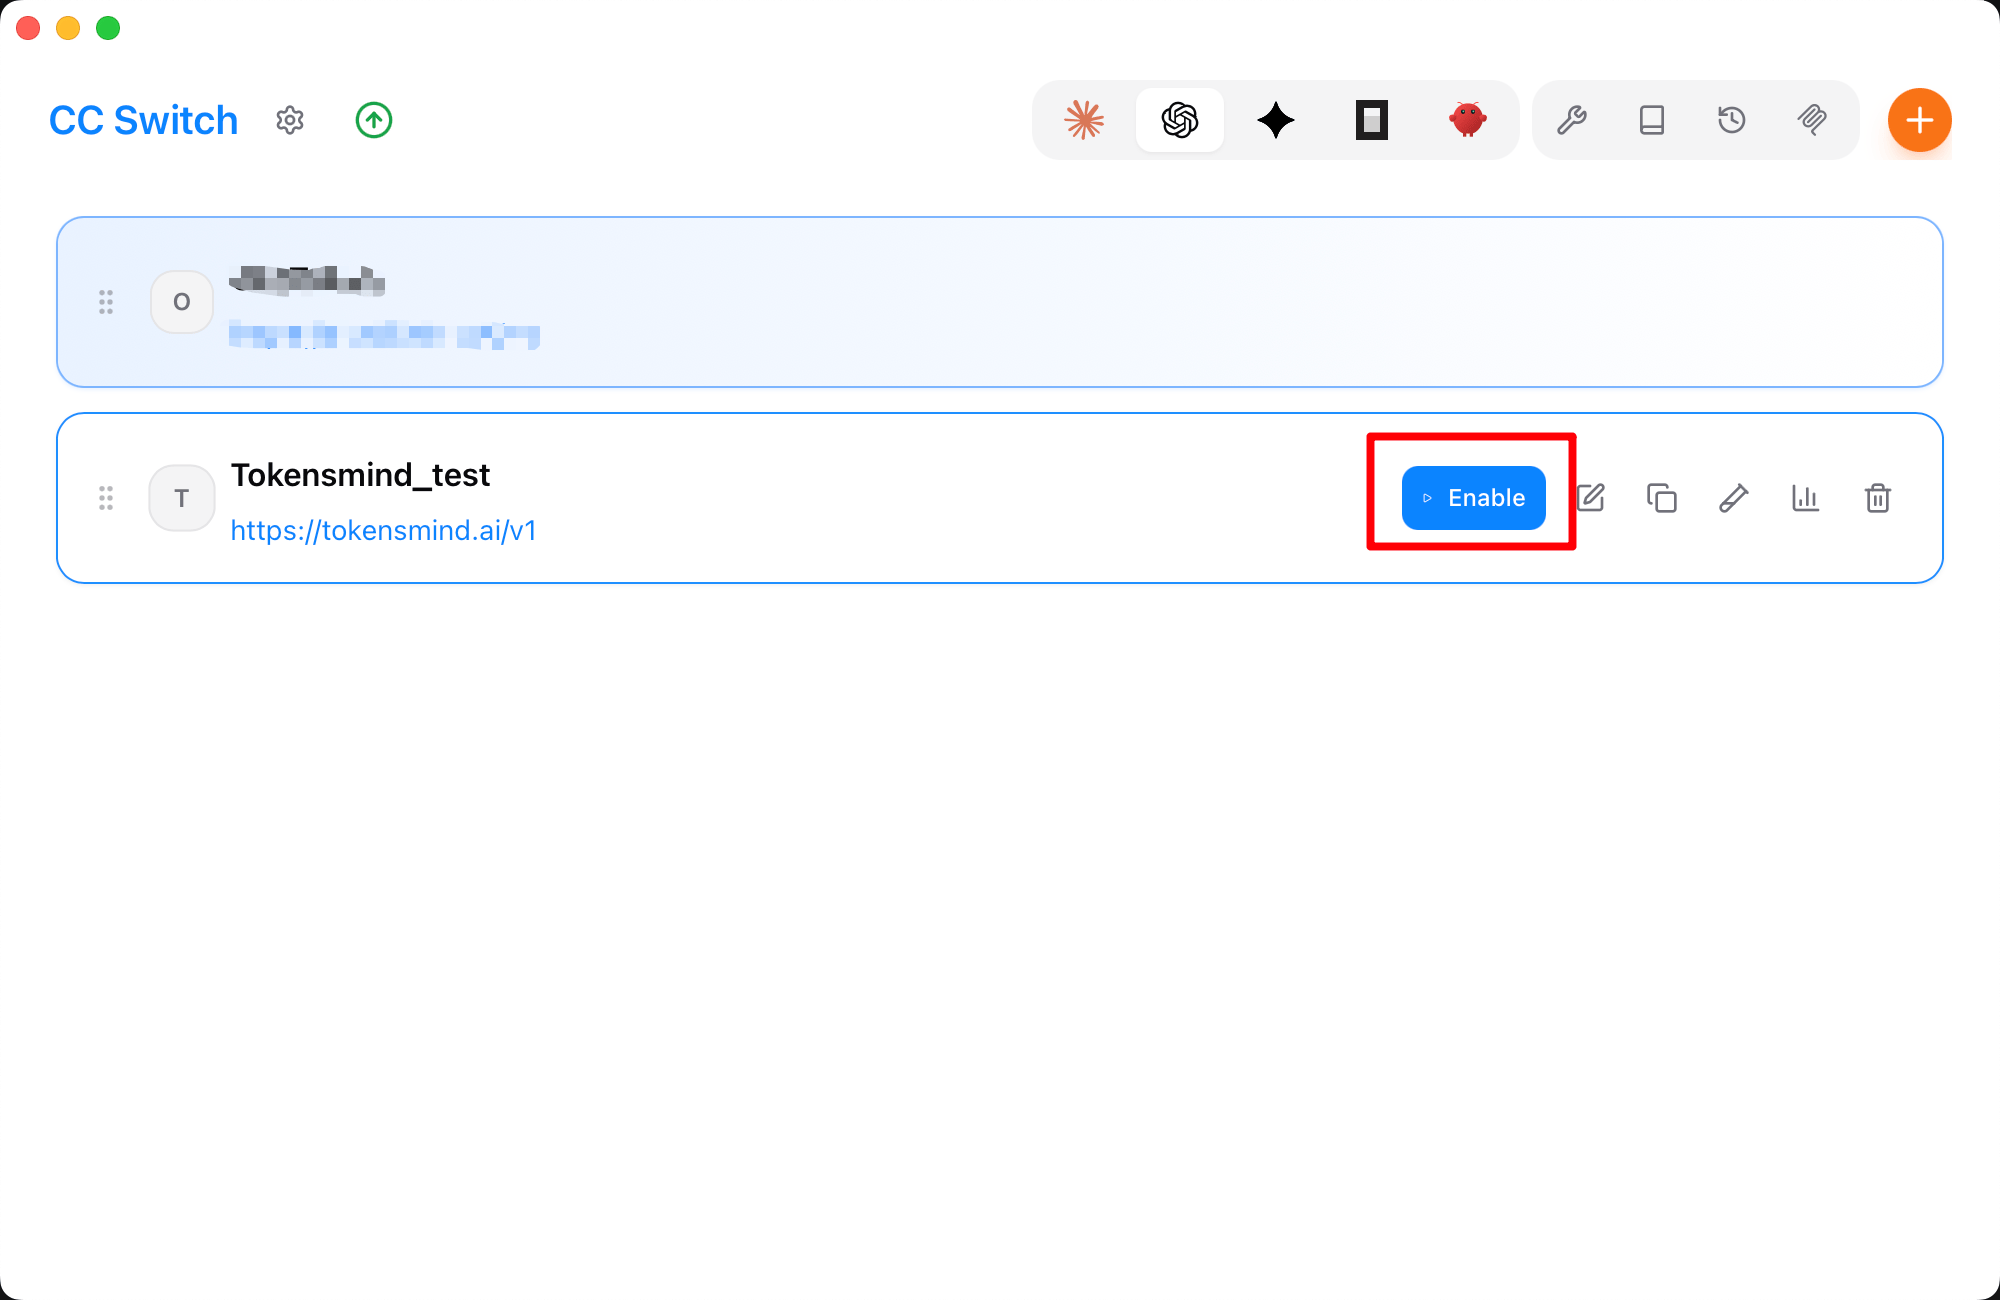
- Back on the home page, select "AnyRouter" in the provider list and click "Enable" to start using it.
Using Codex
In the terminal
- Open a terminal, go to your project directory, and run the
codexcommand.
cd /path/to/your/project
codex- Set permissions as needed.
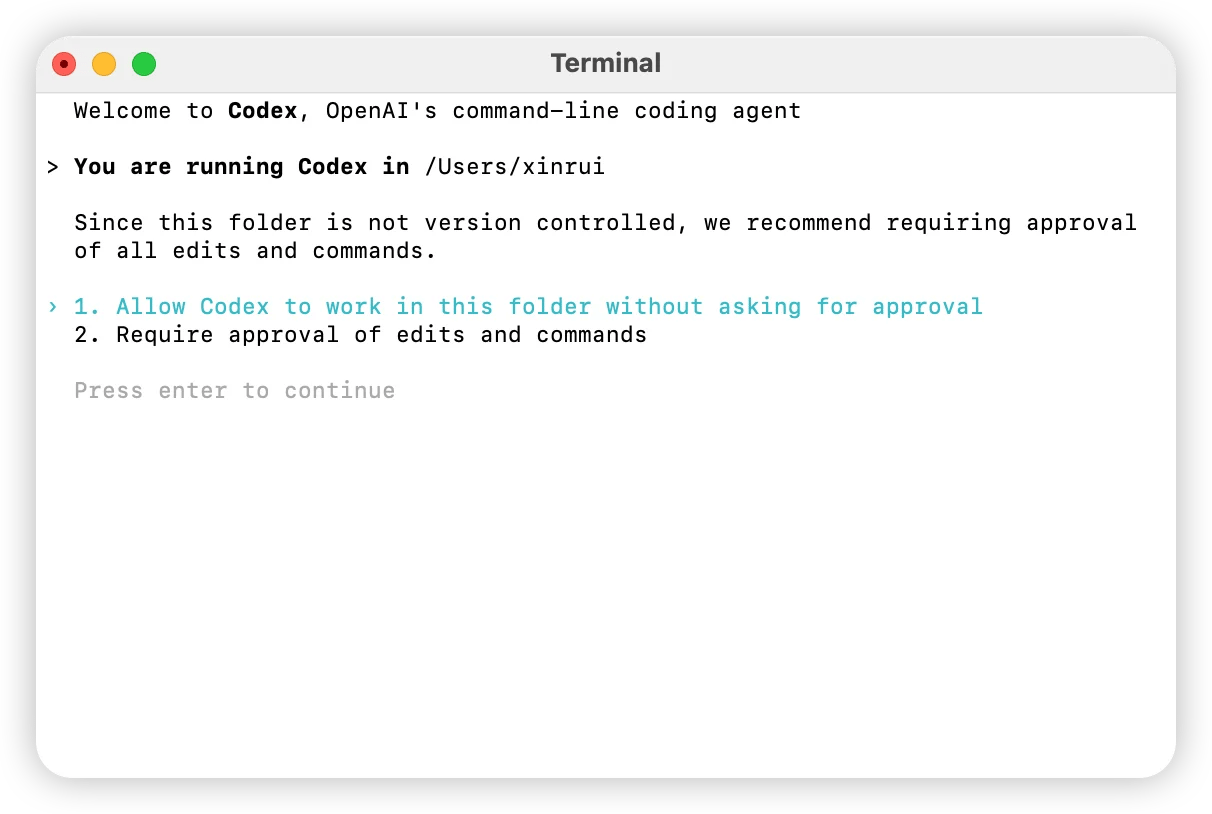
- Choose the model you want to use.
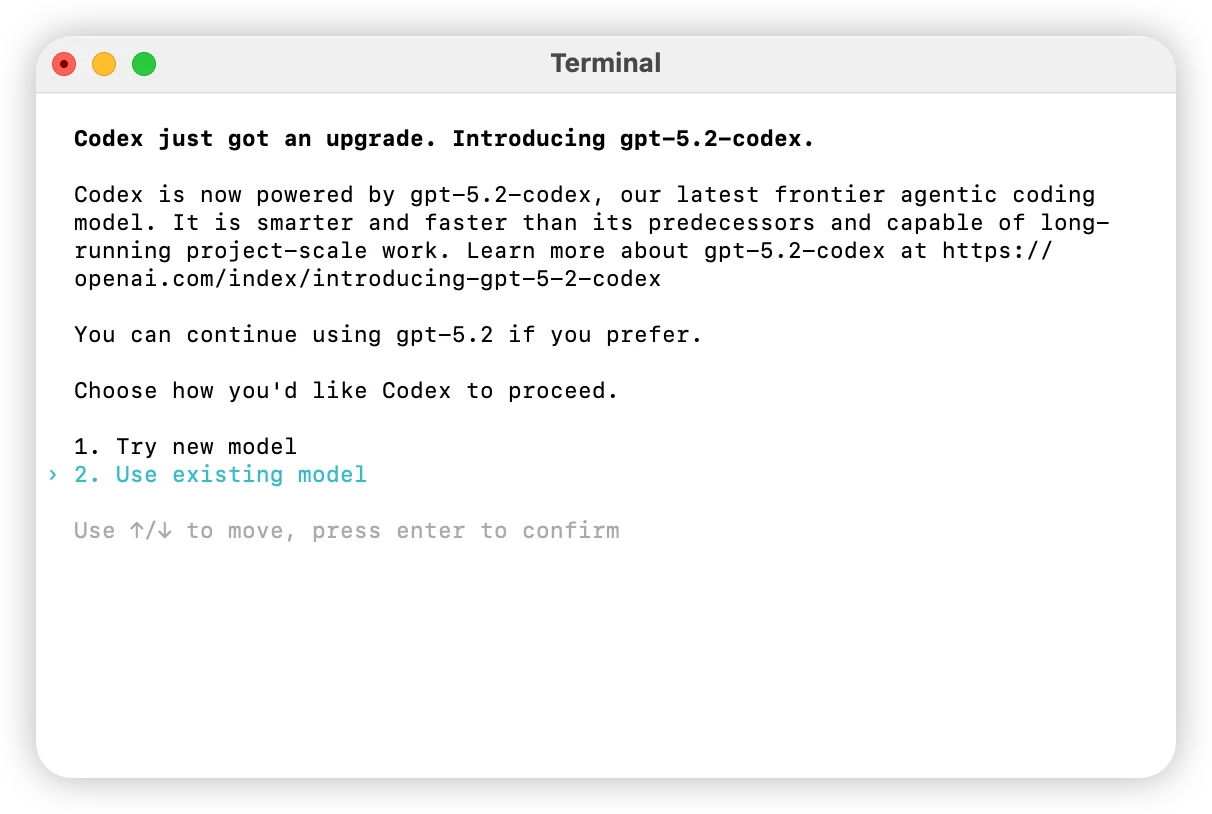
- Type a natural-language prompt. If it responds normally, the configuration succeeded.
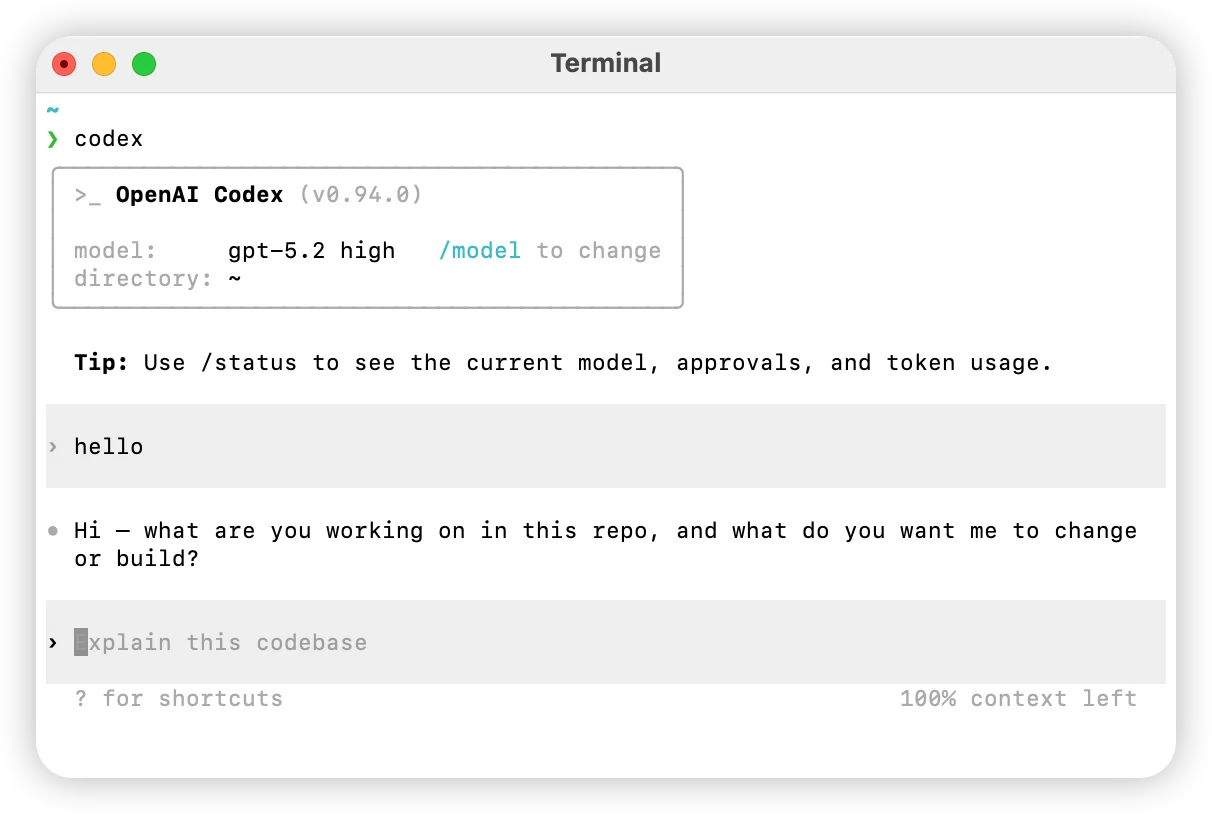
In the Codex desktop app
- Open the Codex desktop app and choose a working directory.
- Type a task in the input box. If it responds normally, the configuration succeeded.
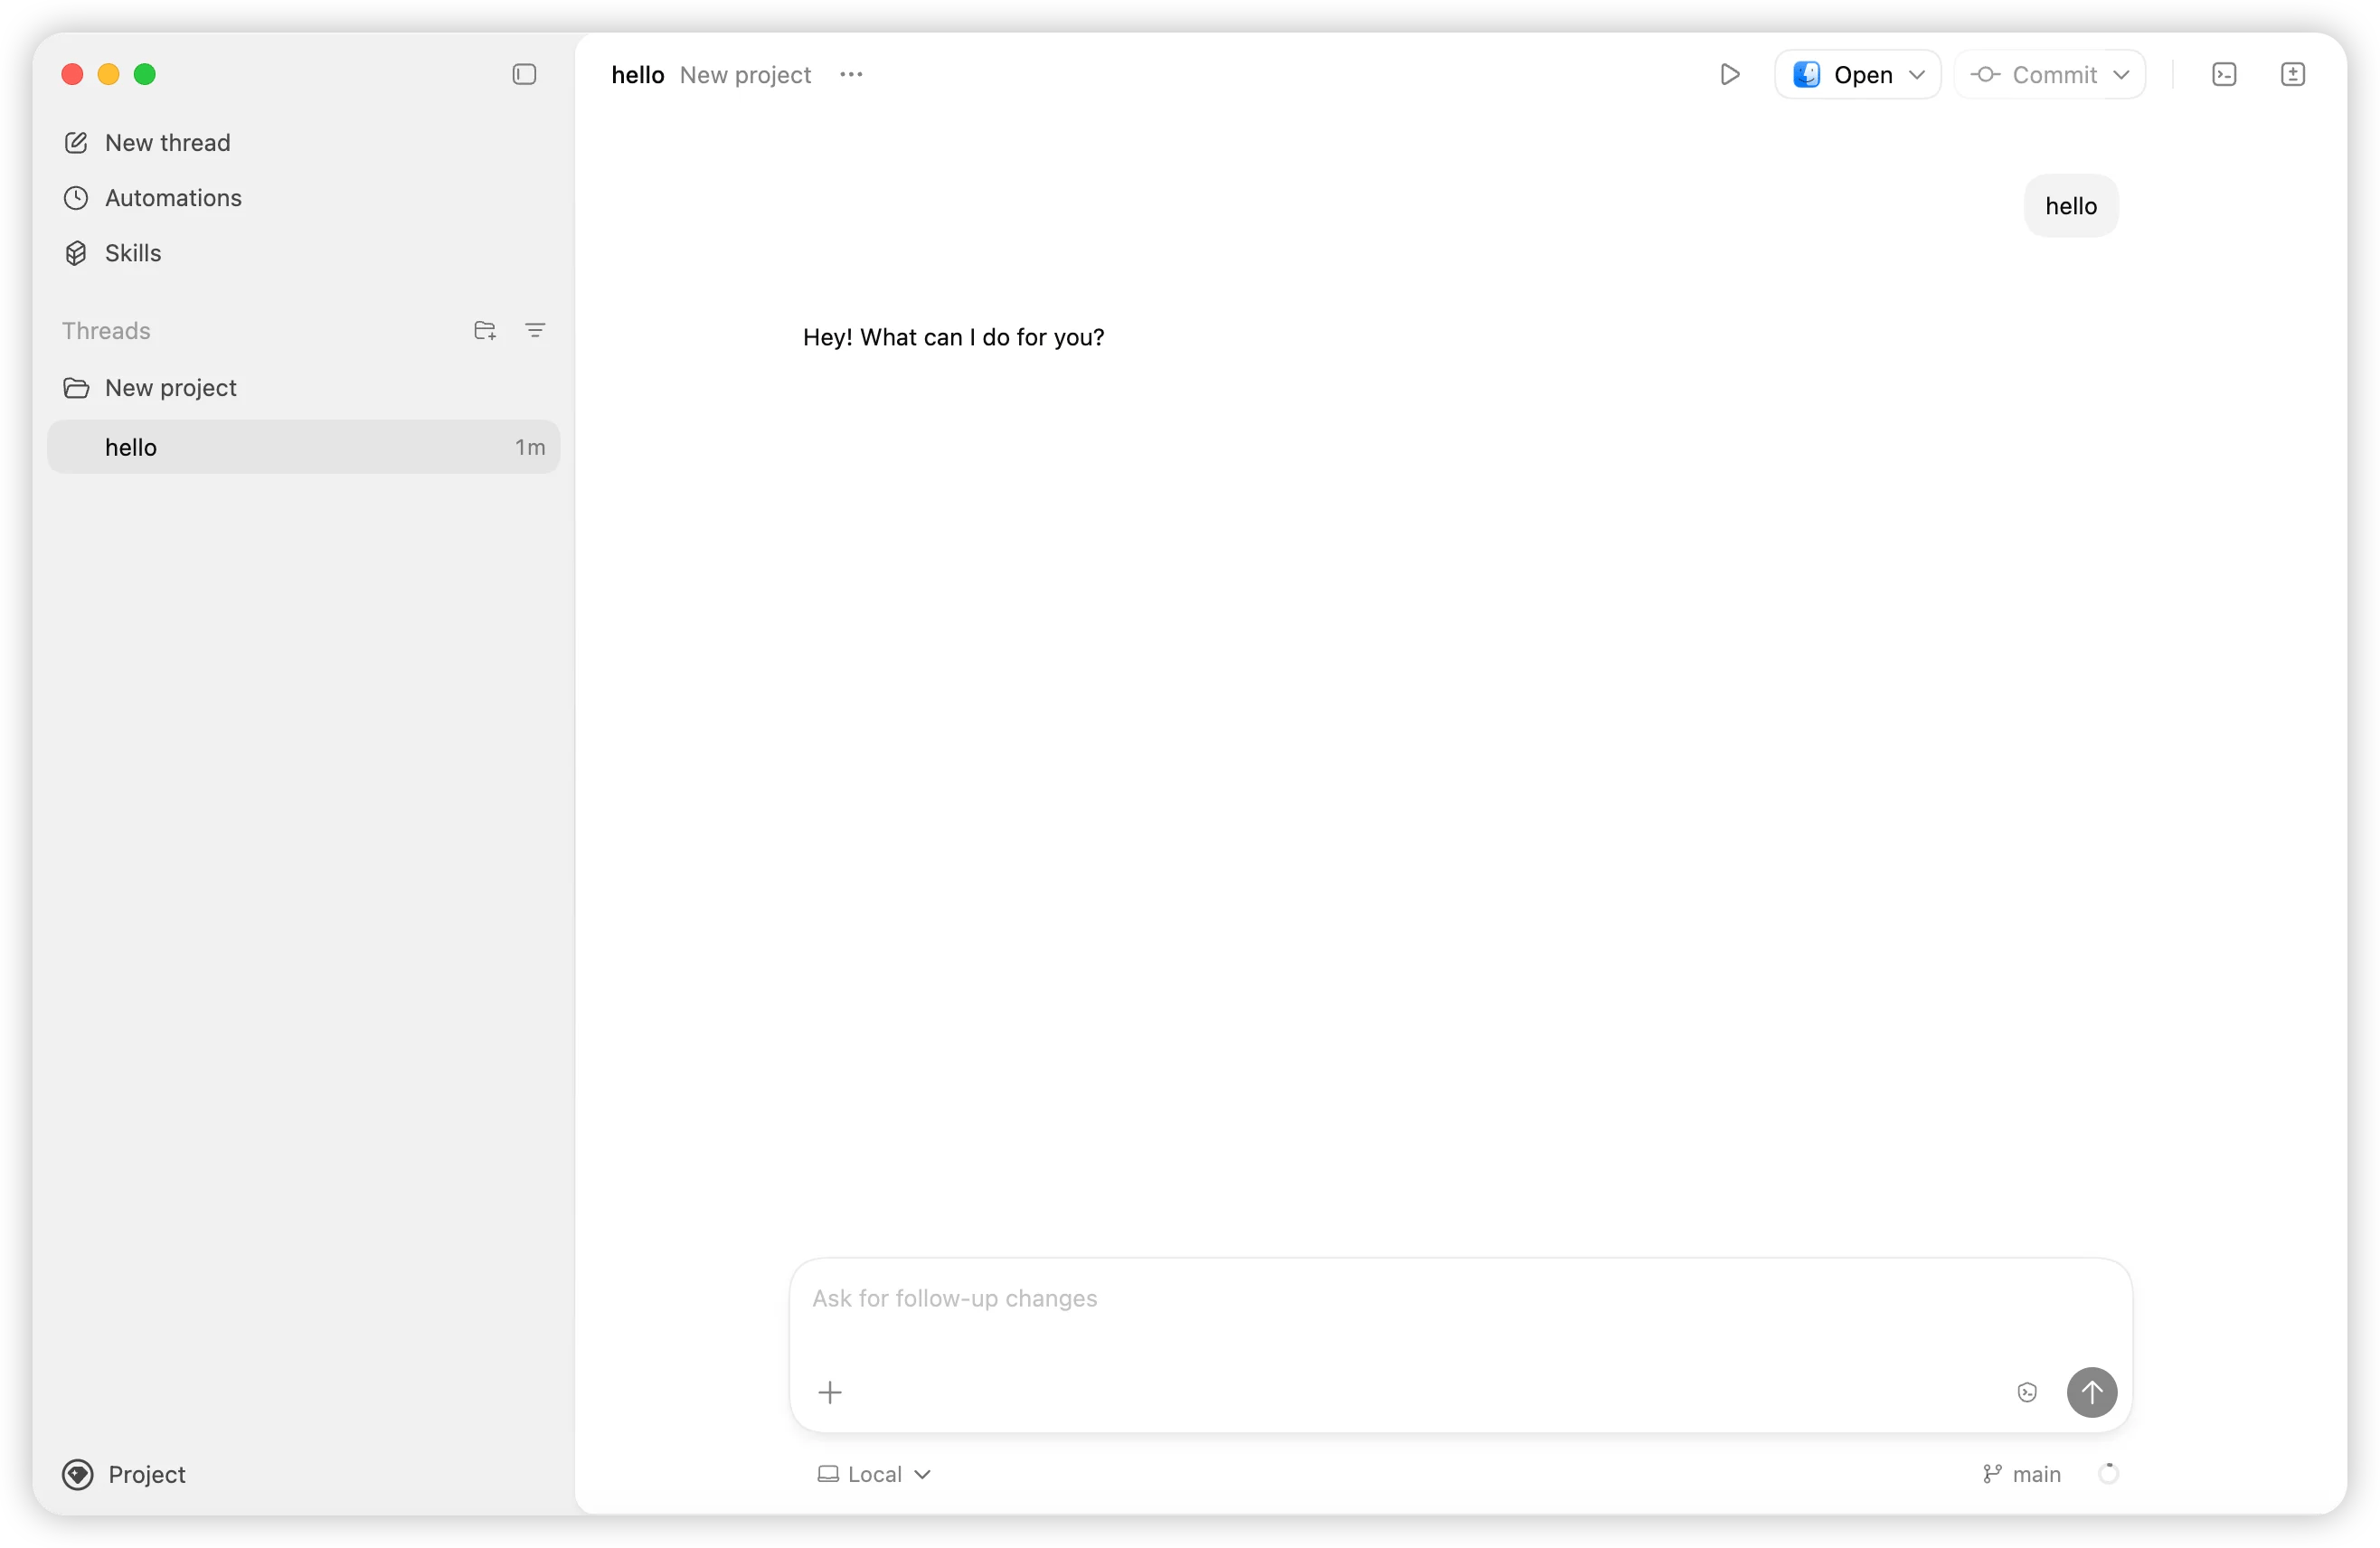
Handy Command Reference
Help command
codex -hFull command options
Usage
  $ codex [options] <prompt>

Options
  -h, --help                 Show help and exit
  -m, --model <model>        Specify the model to use (default: codex-mini-latest)
  -i, --image <path>         Path to a file containing image input
  -v, --view <rollout>       View a previously saved session
  -q, --quiet                Non-interactive mode; print only the assistant's final output
  -a, --approval-mode <mode> Override the approval policy: 'suggest', 'auto-edit', or 'full-auto'

  --auto-edit                Automatically approve file edits; still prompt to confirm commands
  --full-auto                Automatically approve edits and commands in the sandbox environment

  --no-project-doc           Do not automatically include the repo's 'codex.md' file
  --project-doc <file>       Include the specified Markdown file as context
  --full-stdout              Do not truncate the stdout/stderr of command output

Dangerous options
  --dangerously-auto-approve-everything
                             Skip all confirmation prompts and execute commands directly (no sandbox protection)
                             For temporary local testing environments only

Experimental options
  -f, --full-context         Launch in "full context" mode, loading the entire repo into context
                             and applying batch edits in a single pass
                             Only compatible with the --model flag

Examples
  $ codex "Write and run a Python program that prints ASCII art"
  $ codex -q "fix the build issue"
Hermes
Set up Hermes Agent, the open-source self-learning AI agent, with AnyRouter: install it and configure a custom endpoint, base_url and API key via hermes model.
OpenClaw
Set up OpenClaw, the local open-source agent platform, with AnyRouter: run openclaw onboard, pick custom providers, and enter your API key and model ID.